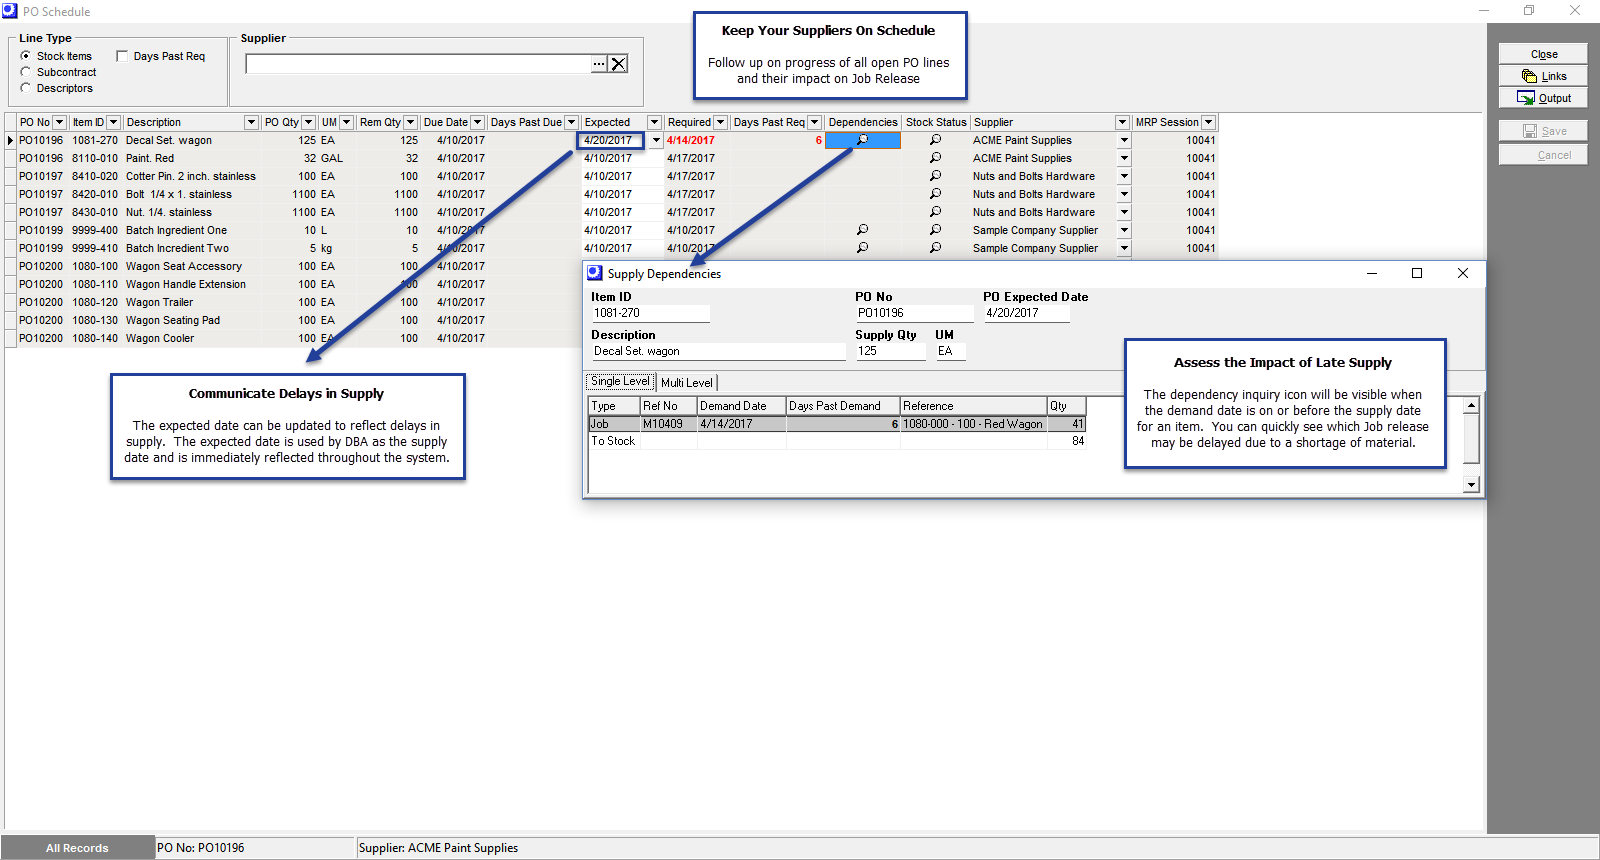
(Purch – PO Schedule - Stock Items)
PO lines are displayed in ascending Due Date order and by PO No within Due Date.
Screen Details
Grid Fields
PO No
This number identifies the purchase order.
Item ID, Description
These fields identify the PO line item.
PO Qty, UM
This is the original order quantity and unit of measure.
Rem Qty
This is the remaining quantity, which is the original order quantity less receipts to date.
Due Date
This is the line item’s scheduled due date. The Due Date is established at PO line creation and is forward scheduled from the creation date by the item’s Lead Days allocation, rounded forward to the nearest shop day. It is not recommended to future schedule your PO Due Dates as this can disrupt the alignment of your schedule.
Schedule Impact: Our recommendation is to always leave the original scheduled Due Date based on Lead Days intact and update the Expected Date to reflect changes in the target supply date.
Days Past Due
A value on this field means that the current date is ‘X’ calendar days past the PO line’s Due Date, which indicates a late PO. Possible actions include:
Apply pressure on the supplier
When a PO is late you can contact the supplier and apply pressure to expedite delivery.
Update the Expected Date
If the supplier furnishes you with a firm delivery date, you can update the PO line’s Expected date, which affects the Days Past Req calculation and the Dependencies inquiry.
Expected Date
The Expected Date is the supply date for the system. By default this date is equal to the Due Date. When a PO is late, however, and the supplier gives you a firm delivery date, you can specify that date in this field to update the system supply target date.
This is the supply date for Stock Status and Dependencies
Be aware that when this date is changed, it is used as the supply date within the Stock Status and Dependencies inquiries.
Required
This field displays the PO’s current required date. It is updated as follows each time the screen is launched:
| • | If the earliest dependent demand event is a job, this is the job’s Planned Start date. |
| • | If the earliest dependent demand event is a sales order, this is the SO line item’s Required date. |
NOTE: For Jobs and Sales Orders, if a shortage occurs, then the PO Line Required Date will be moved inward. However, moving a Job Planned Start Date or SO Line Required Date out will not affect an existing PO Line Required date.
Manual Change of Required Date Outward
There are a few exceptions to allow a Required date move outward for To Order purchased items. For example, you may have had a To Order item that a customer called in and request a later delivery date. You could choose to move out the SO line required date outward and move the PO Required date per the exception rule below. This would allow you to de-prioritize this To Order PO line on an exception basis.
▪Items with an Order Policy = To Order that the supply (Expected Date) is scheduled ahead of the date where the projected quantity goes negative are eligible to change the Required Date outward. You should analyze your Stock Status screen and choose a date in the future where the projected quantity is zero or negative.
▪Manually created PO lines are eligible to change the Required date to meet your objectives. We do recommend that you still review the Stock Status screen prior to changing the date.
Days Past Req
A value in this field means that the Expected date or current date, whichever is latest, is ‘X’ calendar days past the PO line’s Required date, which indicates a late dependency.
Dependencies
The icon in this field, which launches the Supply Dependencies inquiry, becomes visible when the PO line is late relative to dependent demand events. Dependent demand events are jobs or sales orders with demand dates earlier than the Expected date or current date, whichever is latest.
What creates late dependencies?
Late dependencies associated with PO lines occur for the following reasons:
Late PO
A late PO line creates a late dependency when its Days Past Due is sufficient to cause the current date or Expected date to be past the Required date.
Manual PO
A manually created PO can cause a late dependency because it lacks the proper date alignment that occurs when POs are generated through MRP.
Cancel and cease using manual POs
Manual PO creation should be ceased immediately because manual POs are not compatible with the master schedule. All POs should be generated through MRP based on actual demand with proper date alignment. Any blanket POs with multiple future receipt dates should be cancelled. Each affected supplier should be notified that the remaining quantities on each blanket PO are cancelled and will be replaced with individual POs from this point forward. Instead of using a blanket PO, which is a crude form of forecasting, it is much more efficient to use a forecast -derived Reorder Point in combination with a Supply Days setting so that POs get triggered by actual demand.
Manual Job
Late dependencies can be caused by a job created manually without the proper date alignment that occurs when jobs are generated by MRP.
Cease manual job creation
Manual job creation should be ceased immediately because manual jobs are not compatible with the master schedule. All jobs should be generated through MRP based on actual demand with proper date alignment.
Premature Job Release
Late dependencies can be caused by releasing a job prematurely despite material not being fully allocated.
Do not release jobs without material or capacity
Jobs should never be released to production without material being fully allocated and only when open queue capacity exists in the job’s first work center.
Stock Status
Clicking the icon in this field launches the Stock Status inquiry, which displays the projected supply and demand details for this item.
Link:

Supplier
This is the supplier associated with this PO. You can click the down arrow in this field to display the supplier’s contact details stored in the PO header screen.
MRP Session
This field displays the MRP session number from which this job was generated. If the PO was created manually, ‘Manual’ is displayed.
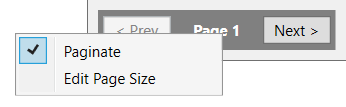
Pagination
Pagination status is found in the lower left hand portion of the screen.
NOTE: Column sorting and output options will only work on the dataset displayed per page.
•To remove pagination and display all records, right click on the page and uncheck the Paginate option.
•To change the page size, right click on the page and select Edit Page Size.