
(Sales – Sales Orders - Invoicing Tab)
Invoices are generated from shipments on this tab.
Link:
Invoice Creation Workflow

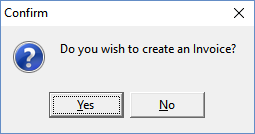
1. When Invoicing tab is selected, you are prompted would wish to create an invoice?
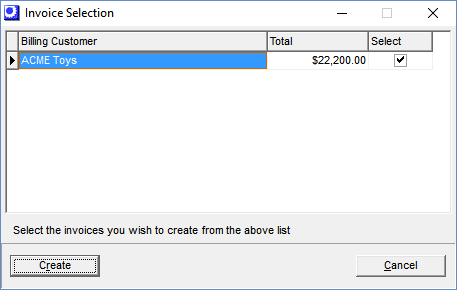
2. Select Invoice to be created
The total amount will reflect all un-invoiced shipments combined. If you want an invoice per shipment, you should create and print an invoice immediately after each shipment.
3. Review the details of your Not Posted Invoice prior to printing (posting)
You should review the Details of your invoice to ensure accuracy. If you need to make corrections, you can Delete the Not Posted Invoice and make the necessary corrections in the Sales Order Details tab. You can then re-generate a new invoice. .
NOTE: Invoice line notes are copied from the Sales Order>Details>Notes side tab at time of Invoice creation. If you want to add or modify an invoice line note, you can delete the Invoice, enter the new note and re-create the invoice. The invoice header note can be modified at any time (even after invoice creation or posting) from the Sales >Invoicing>Invoice Note lower panel.

4. Select the print Invoice button to print and post the invoice.
The act of selecting the Invoice button and printing will formally post your invoice to your General Ledger.
NOTE: Once you have Printed (Posted) your Invoice, you will need to create a formal Invoice Reversal to make any corrections

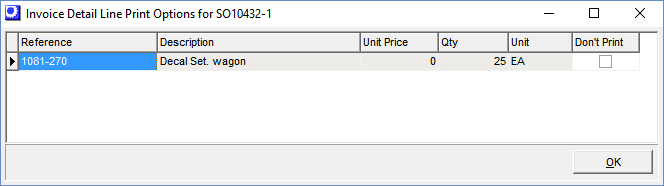
5. Optionally exclude zero-value line items from printing
6. Preview the Invoice for printing and/or email
7. Confirm Invoice is Printed status. Printed = Posted
GL Posting
NOTE: It is when the invoice status changes to ‘Printed’ that the invoice is posted to the general ledger and to the sales history table.
Screen Details
Click for Preview of selected Invoice
Click this icon if you wish to preview the invoice on the screen and to adjust printing options. You are first presented with the Print Options screen.
Click for Sales Order Inquiry Invoices View
Click this icon to view the invoice details in the Sales Order Inquiry > Invoices tab. For Not Posted invoices, you should carefully review your invoice details prior to selecting the Invoice button (posting). If corrections are needed, you can delete the Not Posted invoice and go to the SO details to make the appropriate modifications and then re-create the invoice.
Details Button
Click this button to transition to the SO Inquiry > Details tab to review the details of your invoice.
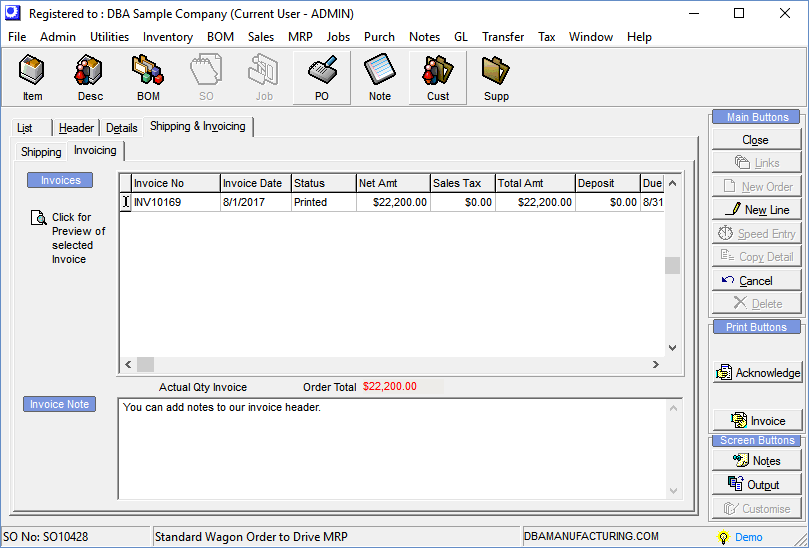
Invoices Grid
All invoices that have been created against this sales order are listed in this grid.
Invoice No
This field is left blank until the Status changes to ‘Printed’. The program assigns the Invoice No based on the Invoice Prefix and Next Invoice No settings in the Sales Defaults screen.
Invoice Date
This field defaults to today’s date, but can be overridden with another selection prior to printing the invoice.
Status
The system assigns three possible values to this field:
Not Posted
When the invoice is initially created, the Status is Not Posted. You can review details while in Not Posted status. If you wish to make corrections, you can delete the Not Posted invoice and go to the Sales Order details to make the appropriate changes. You can then create another invoice.
Printed
The Status changes to ‘Printed’ once the invoice is printed or Emailed. Once an invoice has been Printed (Posted), you can no longer delete an invoice.
GL Posting
NOTE: It is when the invoice status changes to ‘Printed’ that the invoice is posted to the general ledger and to the sales history.
Credited
When you click the Reverse button to reverse a ‘Printed’ invoice, the Status changes to ‘Credited’.
Net Amt
This field displays the total price exclusive of Shipping and Tax.
Shipping
This field displays the total shipping charges on this Invoice.
Tax
This field displays the total tax on this invoice.
Total Amt
This is the sum of the Net Amt, Shipping, and Tax amounts.
Deposit - DBA Legacy Financials
If an advance deposit has been applied against this Invoice, the amount is displayed in this field.
Deposit Processing - DBA Legacy Financials
If a deposit has been entered in the AR – Customer Deposits screen against this sales order, when you create the invoice you are presented with this prompt:
An open Deposit exists against this Sales Order. Do you wish to apply the Deposit towards this Invoice?
If you click OK, you are presented with this prompt:
Up to $__ can be applied. Apply how much?
You can then apply all or a portion of the open deposit amount against the invoice.
Due Date
This is the invoice payment due date, which is based on the Payment Terms specified in the Terms sub-tab on the Header tab.
Print on Statement
When you reverse an invoice to correct for errors, the original invoice is retained and a “reversing” invoice with offsetting negative quantities and prices is created. If you wish to exclude both of these invoices from printing on the customer statement, select ‘No’ in this field.
Invoice Customer
This field displays the bill to customer for this invoice.
Created By
This field displays the DBA User that created the invoice.
New Invoice Button
If you don’t create the invoice at the time you click the Invoicing tab, once you are on the Invoicing screen you can click this button to create a new invoice.
Delete Button
When a selected invoice’s Status is Not Posted, you can delete it by clicking this button. You can review details while in Not Posted status. If you wish to make corrections, you can delete the Not Posted invoice and go to the Sales Order details to make the appropriate changes. You can then create another invoice.
NOTE: You cannot delete a ‘Printed’ Status invoice. You must reverse it instead (see next).
Reverse Button
When a selected invoice’s Status is ‘Printed’, you can create a “reversing” Invoice (with offsetting negative quantities and prices) by clicking this button. The original invoice is retained and both invoices are given a Status of ‘Credited’.
NOTE: If you wish to exclude both of these invoices from printing on the customer statement, select ‘No’ in the Print on Statement field against each of these invoices.
Do not reverse a Customer Invoice to adjust costs after the fact
Do not reverse and re-post a customer invoice for the purpose of adjusting line item costs. From a costing standpoint, inventory transaction costs in DBA are never corrected after the fact because items get immediately shipped to a customer or issued and incorporated into other items. The overall cost of sales gets balanced out automatically as corrections are made in other parts of the system (i.e. Job Close WIP Variance, PO Invoice Matching Variance, Inventory Adjustments, and Change Inventory Costs). From an accounting standpoint, once an invoice is sent to a customer, it cannot be tampered with unless the customer receives an explanatory credit memo and corrected invoice.
 Product Costing Guide - Cost of Goods Sold (COGS)
Consider using a Credit Memo instead of Invoice Reversal
If one or more items was returned by the customer, you do not need to reverse the initial invoice to make a correction. You can go to the Sales Order > Order Picking > Transactions tab and you can use the Return button to return your quantities to inventory. You can then create a shipment and Invoice. This invoice will be a credit memo. The RMA Training Course video player has a segment on Credit Memos.
Print Buttons Panel
Invoice Button
Click this button to print the selected invoice.
NOTE: When the invoice is printed, its Status changes to ‘Printed’ and it is posted to sales history and to the general ledger.
Detail Line Print Options Screen for zero-value items
Don’t Print
If you wish to exclude a particular zero-value line item from printing on the invoice, select this checkbox.
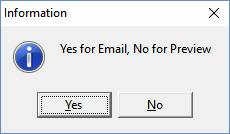
Yes for Email, No for Preview
If the Email Documents checkbox is selected in the Contact sub-tab of the Header tab, you are presented with this prompt after closing the Print Options screen. If the checkbox is not selected, the invoice is previewed on the screen and can be printed by clicking the Printer icon.
| • | If you click Yes, you are presented with the standard Email client form, pre-filled with the Message Body Default Text for this user from the User Setup screen. |
| • | If you click No, the invoice is previewed on the screen and can be printed by clicking the Printer icon. |
Credit Card Payment Prompt - Legacy Financials
For customers on DBA Financials, if this sales order’s Payment Terms is specified as a ‘Credit Card’ type in the Customer Terms screen, you are prompted to record the customer’s payment.
If you click Yes to the prompt, the Customer Payments screen is presented. The Banking Account, Payment Type, and Amount to Pay fields are pre-filled. Click the Update button and the credit card payment will be processed.
